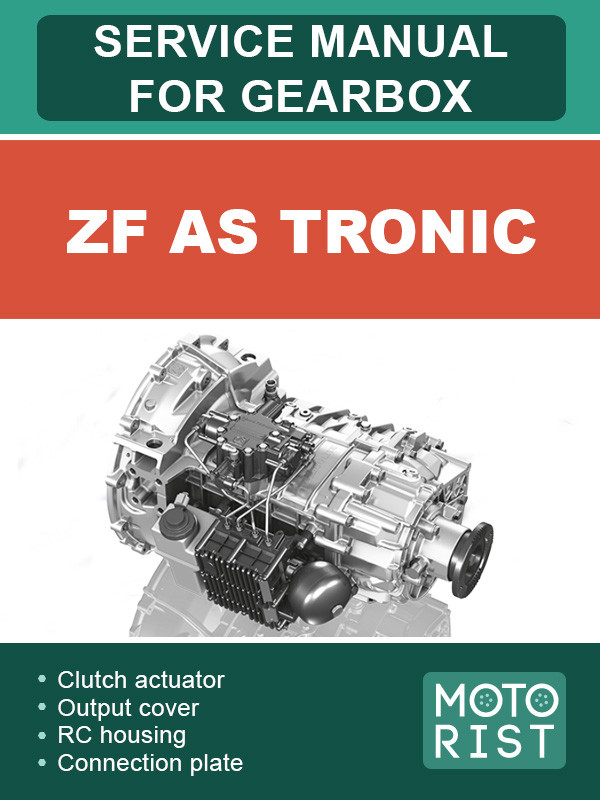
ZF AS Tronic gearbox, repair e-manual
Only original manuals
Available immediately after payment
Full compliance with the paper edition
100% protection of your payments
Publisher: © "Motorist"
ISBN: 977-129-542-550-6
Number of pages: 120
Format: file PDF
About the manual
Transmission type: ZF AS Tronic
In the manual you will find
- Step-by-step guide to repair various components and assemblies
- Self-care and maintenance instructions
- Gearbox design and prevention information
- Information for a trip to the service station, if self-repair is not possible
Only original manuals
Available immediately after payment
Full compliance with the paper edition
100% protection of your payments
Publisher: © "Motorist"
ISBN: 977-129-542-550-6
Number of pages: 120
Format: file PDF
About the manual
Transmission type: ZF AS Tronic
In the manual you will find
- Step-by-step guide to repair various components and assemblies
- Self-care and maintenance instructions
- Gearbox design and prevention information
- Information for a trip to the service station, if self-repair is not possible
Content
Overview
- 4HP14 A/T assembly explode view
- Transmission power transfer schematic
- Adjusting automatic transmission clearance
- Adjusting shift shaft clearance
- Adjusting output gear clearance
- Adjusting main rear output gear clearance
- Adjusting driven shaft clearance
- Adjusting clutch A clearance
- Adjusting central seat clearance
- Adjusting differential pretension
- Adjusting brake band pretension
- Adjusting throttle cable
- Special tool
- Transmission bolt tighten torque
- General inspection of transmission
Automatic transmission (A/T) assembly description
- Overview of amendments
- Preface
- Safety instructions
- General information
- Instructions for repairs
- Tightening torques for screws/bolts and nuts, extract from ZFN 148
- Screw plugs DIN 908, 910, and 7604
- Union screws DIN 7643
- Conversion from DIN to ISO standards
- Consumable material
- Setting data
- Special tool
- Diagnosis tool
- Preparatory work
Clutch actuator
- Removing clutch actuator
- Mounting clutch actuator
Output flange
- Removing output flange
- Mounting output flange
Output cover
- Removing output cover
- Mounting output cover
RC housing
- Dismounting the rc housing
- Play setting of the main shaft – planetary carrier
- Mounting the RC housing
- Dismantling the RC housing
- Assembling the RC housing
RC housing
- Dismounting the rc housing
- Play setting of the main shaft – planetary carrier
- Mounting the RC housing
- Dismantling the RC housing
- Assembling the RC housing
Planetary carrier
- Disassembling planet carrier
- Pre-assembling the sun gear
- Pre-assembling the planetary gear set
- Completing the planet carrier
- Place transmission without RC (planetary range) in horizontal position
Planetary carrier
- Disassembling planet carrier
- Pre-assembling the sun gear
- Pre-assembling the planetary gear set
- Completing the planet carrier
- Place transmission without RC (planetary range) in horizontal position
Transmission actuator
- Removing transmission actuator
- Mounting transmission actuator
- Removing the upper section from the lower section
- Mounting the upper section to the lower section
- Replacing pressure relief valve
- Programming transmission actuator
- Putting transmission in vertical position
Clutch release mechanism
- Removing release fork
- Mounting the release fork
Connection plate
- Removing connection plate
- Measure the connection plate
- Assembling connection plate
Housing I
- Removing housing I
- Dismantling housing I
- Assembling housing I
- Fitting housing I
Shaft pack
- Removing shaft pack
- Installing shaft pack
Input shaft
- Disassembling the input shaft
- Disassembling the synchronization
- Assembling the synchronization
- Setting the axial play of the bearing disk in constant gear 2
- Assembling the input shaft
Main shaft
- Dismantling main shaft
- Assembling main shaft
- Set the axial play gear to wheel disk
- Set the axial play MS disk to wheel disk
Countershaft
- Disassembling the countershaft
- Mounting the countershaft
Selector shaft
- Dismantling the selector shaft
- Assembling the selector shaft
Housing II
- Dismantling housing II
- Assembling housing II
Service information No. 08_00
- Service information No. 02_04
- Service information No. 20_04
- Service information No. 02_05
- Service information No. 25_05
Write a review
Your Name:
Your Review:
Customers reviews
There are no reviews for this product.